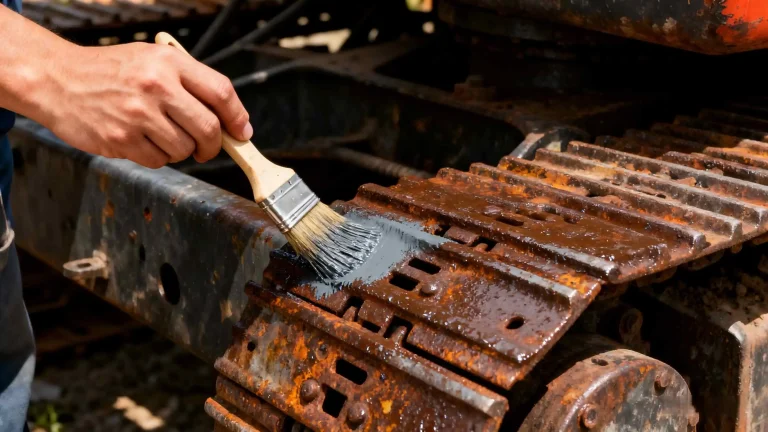
If your DTF print smearing after printing is happening on the film—especially right when you lift the film off the platen, move it toward powdering, or feed it into curing—it usually means one of two things: the ink is still “mobile,” or you’re laying down more ink than the PET film’s coating can comfortably take in and hold. Humidity swings, static and dust, film-side mistakes, and mechanical contact (rollers, belts, even a light head strike) tend to turn a small issue into a recurring headache. This guide walks through a fast, practical checklist, then drills into the most common root causes, fixes, prevention habits, and decision rules that help you stop wasting film and time.
Answer: Why Is My DTF Print Smearing After Printing? (Quick Fix Checklist)
Your DTF print smears after printing because wet ink is being moved across the film surface before it has stabilized, or because the ink load is exceeding what the PET film’s ink-receptive coating can absorb and hold. In real production, that’s most often triggered by a drying/curing gap, aggressive ink limits (especially in high-coverage areas and white ink underbases), inconsistent film coating behavior, and environmental conditions like humidity, static, or dust that slow drying or introduce drag. Mechanical contact can also create “smear-like” defects that look like ink problems but are actually caused by rollers, belts, film curl, or residue on the transport path.
Quick Fix Checklist (Do This in the Next 10 Minutes)
Step 1: Stop handling the film like it’s dry
The fastest way to make smearing worse is to keep moving the film as if it were a sheet of paper. Pause the job, pull the next few printed feet out of the workflow, and treat the freshly printed area as a wet surface. If your smearing appears immediately when you touch, bend, or feed the film forward, you’re dealing with ink mobility—either insufficient drying time or oversaturation.
Step 2: Separate “smears before curing” from “smears during curing”
A lot of operators talk about smearing as one problem, but it actually splits into two different failure modes. If the print smears before you ever cure, your first suspects are ink load, film coating behavior, ambient conditions, and handling timing. If it smears during curing (or right after), you’re more likely looking at curing airflow, heat profile, roller/belt contamination, or film deformation that causes contact and dragging.
Step 3: Reduce the ink load first—because it’s the quickest lever
Even if you eventually discover the film batch is contributing, you can often stop the bleeding by backing down ink intensity where the smear is showing up the most. In practice, smearing loves high-coverage blocks: thick underbases, saturated gradients, dense blacks, and full-bleed designs. Temporarily lower your ink limit, reduce the white ink density, and rerun a controlled test patch so you’re not guessing. If the smear improves immediately, you’ve proven the defect is at least partly an ink-load problem.
Step 4: Run a simple swap test to isolate film/coating influence
Keep printer, RIP settings, and environment as steady as possible, then print the same small file on a known-good PET film roll versus the roll that’s giving you trouble. If the smear tracks the roll, that points you toward coating performance, coating uniformity, or contamination on the film surface. This is where it helps to understand what a strong ink-absorbing layer is supposed to do: it should pull ink into a stable “footprint,” reducing diffusion and surface movement rather than letting ink pool and smear.
Step 5: Check the transport path for “invisible” ink movers
Smearing that repeats in consistent lines, or appears at the same distance apart, is often mechanical. Look for residue on rollers, belts, or guide surfaces. If your film has a slight curl, it can brush a surface you don’t suspect. Cleaning and correcting film tension can sometimes fix what people mistakenly treat as a chemistry problem.
Step 6: Stabilize the room, even temporarily
If your shop goes from dry to muggy in a few hours, the print can behave like it’s on a different material. High humidity can slow drying and keep ink tacky longer; low humidity can increase static, pulling dust into the print zone and creating drag points. A “good enough for today” fix can be as simple as closing doors, running dehumidification, and keeping film covered when not in use.
Identify the Smear Type in 60 Seconds (So You Don’t Chase the Wrong Fix)
Wet smears that move when touched
If you can lightly swipe a test area and the ink shifts like soft paint, that’s classic ink mobility. You’re either printing faster/heavier than the drying window can handle, or the film’s coating isn’t grabbing the ink quickly enough under your current settings. Operators often notice this most on solid fills or thick white underbases.
Streaks or repeating marks that look “mechanical”
If the defect shows up as parallel lines, repeating bands, or “roller marks,” your attention should move to contact points: feed rollers, belts, guide bars, and any residue that can pick up ink and redeposit it. This is especially common when powder overspray, adhesive dust, or oversaturated ink builds up along the path.
Muddy edges, pooling, or a “soft” look at high coverage
When edges blur or puddling forms, it’s frequently oversaturation. The print is putting down more ink than the coating can hold in place. Sometimes the file is the trigger (dense art with heavy underbase), sometimes it’s the ink limits, and sometimes it’s a coating batch that’s less consistent than the one you ran last week.
Random drag defects that come and go
Inconsistent specks, tiny skips, or “spot smears” can be dust and static. They often correlate with handling the film roll uncovered, storing film near open doors, or running in a very dry environment that makes the film act like a dust magnet.
Cause #1: Ink Is Still Wet After Printing (Drying and Handling Window)
Fresh DTF ink isn’t supposed to behave like water, but it does have a period where it can still move if you touch it, brush it, or feed the film across a surface. The trick is to recognize when your process window is too tight. A common scenario is a busy shift where prints are coming out fast, the operator powders quickly to keep up, and the film gets moved before the ink has had time to settle into the coating. Smearing shows up first on dense areas and white layers, because those are the sections with the highest ink volume.
To correct this, start with practical pacing changes. Give the print a little more time before powdering and before any contact point. Improve airflow in the print and curing zones so you’re not relying on time alone. If your curing setup has uneven hot spots or weak airflow, it can leave ink tacky in specific zones, which then smears when the film shifts or when powder hits the surface too aggressively.
Cause #2: Too Much Ink for the PET Film to Hold (Ink Limit, White Ink, Pass Strategy)
Smearing is often the process telling you, in plain terms, that you’re asking the film to carry more ink than it can stabilize. DTF PET film is coated to accept ink, but it still has a limit—especially if your file is ink-heavy and your settings are tuned for maximum density at all costs. In real work, the most common triggers are thick white ink underbases, high total ink limits, and printing dense graphics with minimal drying time between passes.
A reliable way to diagnose oversaturation is to build a simple test file that includes a solid block, a gradient, fine text, and a heavy-white region, then print it with your current settings and again with a modest reduction in total ink and white density. If the smear suddenly improves, you’ve found your fastest path back to stable output. From there you can inch density upward until you hit the edge of stability again, rather than staying in the zone where smearing is guaranteed.
Cause #3: Film-Side Mistakes and Film/Coating Behavior (Ink-Receptive Layer Matters)
There’s a basic, easy-to-miss mistake that causes a surprising amount of smearing: printing on the wrong side of the PET film, or printing on a surface that has contamination. Some film looks similar on both sides under shop lighting, and it only takes one rushed roll load to create hours of confusion. If the coating side isn’t the side receiving ink, the ink will sit on the surface and smear even if your settings are otherwise reasonable.
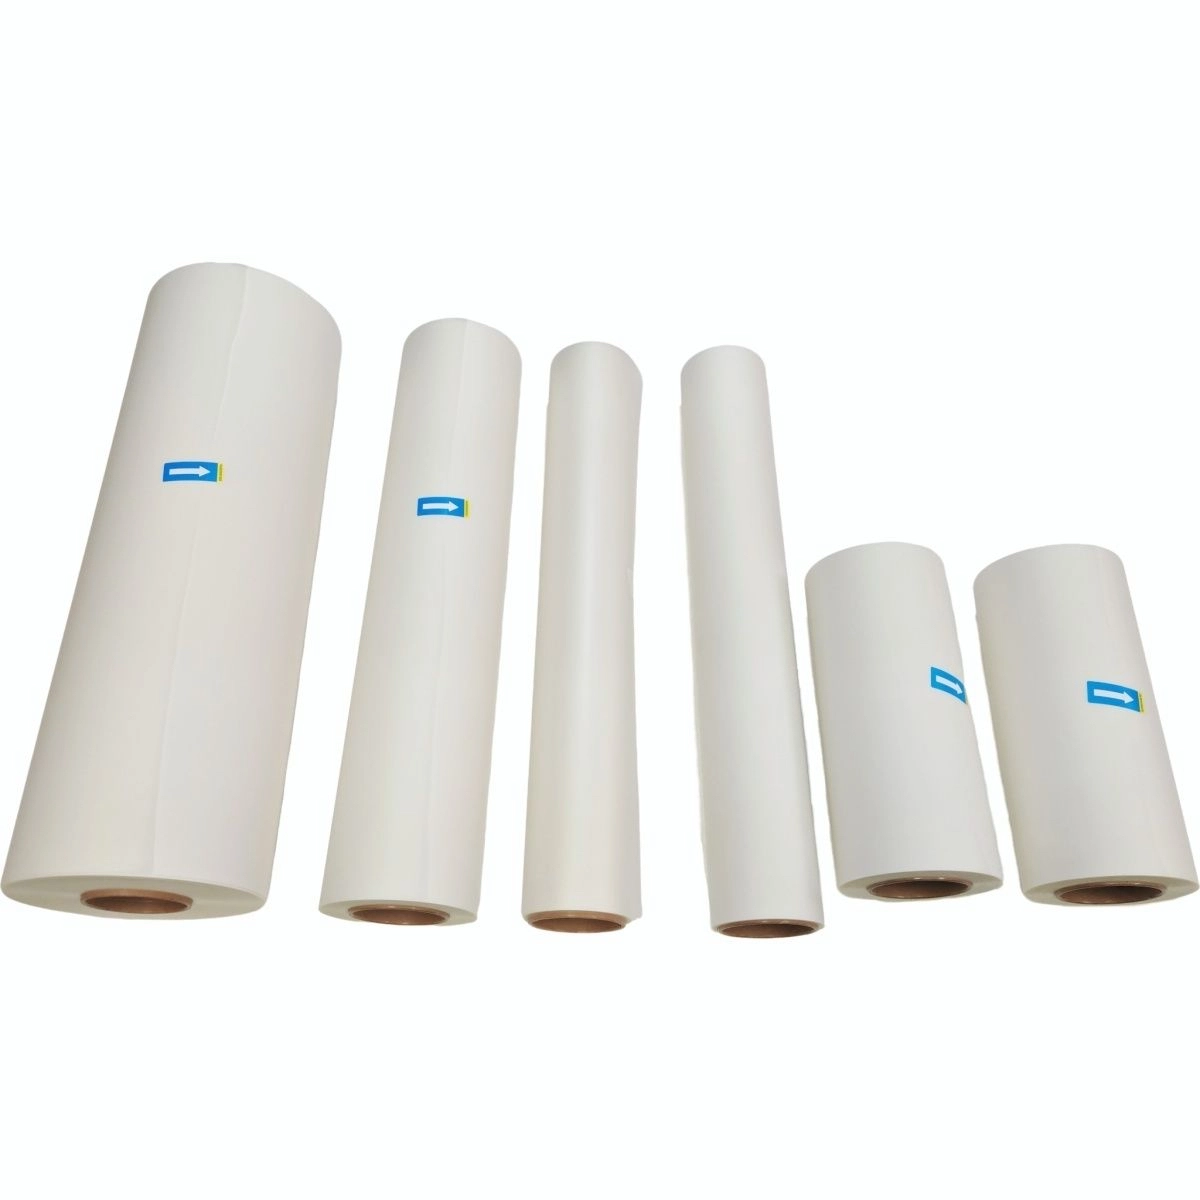
Then there’s the deeper issue: coating behavior. An ink-receptive coating should pull ink into a stable layer quickly, minimizing diffusion and helping the pattern stay crisp. When coating is inconsistent, too slick, contaminated, or simply not designed to handle your ink load, you’ll see more surface movement and more smudging. This is exactly why material consistency matters for film manufacturers. Solutions like a three-in-one coating design—combining a release function, an ink-absorbing function, and a hot melt adhesive function in one coating process—are intended to simplify production while improving batch stability in mass production environments. Foshan Konaz Technology Co., Ltd describes its White Ink Absorbent Coating Material as a coating engineered to reduce smudging and diffusion through strong ink absorption, while also supporting easy peel and anti-static behavior as part of an integrated coating approach.
If you’re a film producer troubleshooting smearing complaints from end users, the practical takeaway is straightforward: don’t rely on one-off fixes. Run controlled comparisons across batches, keep a simple record of coating runs, and validate that the coating is doing what it’s supposed to do under high-coverage prints. When you can keep the coating’s ink-holding behavior stable, downstream print shops stop “chasing settings” every time a roll changes.
Cause #4: Humidity, Static, and Dust (Small Factors That Create Big Smears)
Smearing is one of those defects that loves unstable environments. In a humid room, ink can stay tacky longer and the film can pick up moisture that changes surface behavior. In a very dry room, static builds, film pulls in dust, and those particles act like tiny contact points that drag ink. Both extremes can turn a borderline setting into a mess.
The fix is less glamorous than a settings tweak, but it works. Keep film stored and handled like a precision substrate, not like packaging material. Cover opened rolls. Keep powder dust under control. If you’re in a region with big daily humidity swings, treat environmental control as part of your quality system, not an optional convenience.
Cause #5: Mechanical Smearing (Rollers, Belts, Curl, and Residue)
Not every smear is caused by ink chemistry or film coating. Some are caused by contact. If the film is curling slightly and brushes a guide, or if a roller has adhesive dust buildup, you can get repeated smearing that looks like “wet ink,” even when drying is fine. Mechanical smearing often shows patterns: repeating lines, consistent spacing, or defects that show up in the same location across multiple prints.
Cleaning helps, but only if you clean the right thing. Inspect the entire path from print to powder to curing, including any spot where the film might lightly touch a surface. Check film tension so the film tracks smoothly. If your team is moving fast, also look at how film is being handled between steps; a quick, accidental brush against a sleeve or glove can smear a still-wet region and then get misdiagnosed as a machine problem.
When you need process-level help—especially for recurring defects that don’t respond to quick adjustments—having a supplier who can talk through root causes and application scenarios matters. If you want structured support around troubleshooting, coating selection, and process stability, start with the company’s Service and Technical Support resources.
Prevention SOP (What Stable Shops Do Every Day)
Smearing becomes much rarer when you treat DTF like a controlled process instead of a series of ad-hoc settings. Stable shops typically do three things consistently. First, they run a small standard test patch at the beginning of a shift, not because they enjoy testing, but because it shows how the system behaves today, in today’s air, on today’s film. Second, they keep “known-good” settings for each film type and each recurring artwork style, and they don’t mix and match without logging what changed. Third, they keep film handling disciplined: minimal touching, covered storage, and clean pathways.
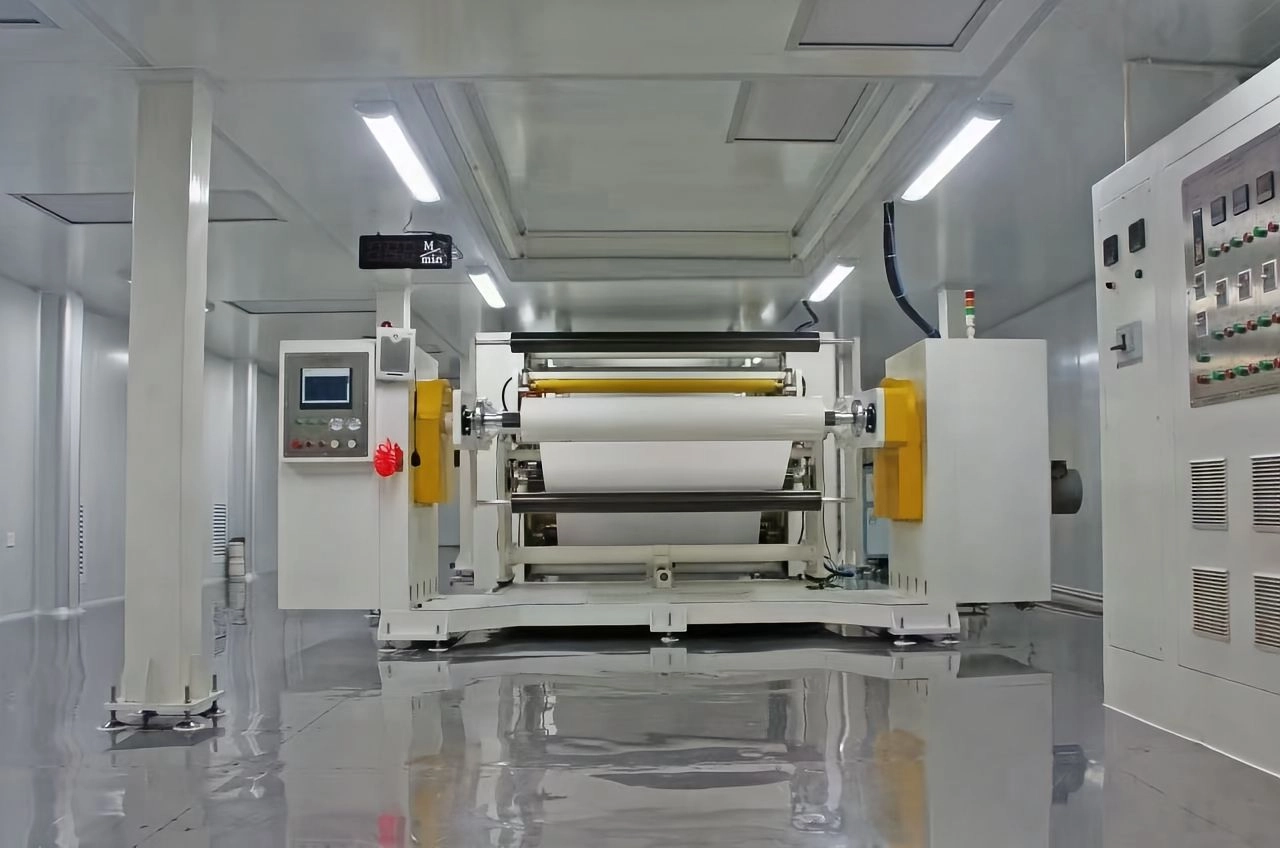
If you’re producing film, the same logic scales up: you want coating consistency, predictable ink absorption behavior, and stable peel performance across runs. That’s where integrated coating approaches are attractive, because they reduce the variability that comes from separate layers being applied and controlled independently. For teams building PET-based transfer films, it’s worth reviewing how a 3-in-1 Coating for Digital Transfer Films is positioned to simplify coating steps while aiming for stable ink absorption, release, and adhesion in a single process.
When to Change Settings vs. When to Change Film (Decision Rules)
Here’s the decision logic that saves time. If a modest reduction in ink limit and white density makes smearing disappear right away, your settings were pushing past the stable window for that film. If the same file and settings work perfectly on a known-good roll but smear on the current roll, the film/coating batch is a major variable, and continued settings tweaks will just trade one defect for another. If smearing repeats in consistent lines or spacing, and especially if it appears during transport or curing, your highest-return fix is mechanical: contact points, residue, film curl, tension, and cleanliness.
Most teams improve faster when they stop treating every smear as a mystery and start treating it as a diagnostic problem with controlled tests. In DTF, controlled comparisons beat intuition every time.
About Foshan Konaz Technology Co., Ltd
Foshan Konaz Technology Co., Ltd is a specialized manufacturer of advanced functional coating materials serving industrial and digital printing applications. The company highlights two core product directions: heat-resistant coatings for demanding thermal environments and a three-in-one coating solution designed for PET-based transfer films used in DTF and heat transfer printing. Konaz positions its coating development around practical performance—such as ink absorption behavior, smooth release, and stable adhesion—while also focusing on manufacturing efficiency through simplified coating processes and customizable formulations for different production lines. To learn more about the company’s background, focus areas, and industries served, see About Foshan Konaz Technology Co., Ltd.
Conclusion
DTF smearing is rarely a single-variable problem, which is exactly why it frustrates good operators. The fastest wins come from separating “wet ink movement” from “mechanical contact,” then running simple controlled tests: a small setting reduction, a film swap, and a quick pathway inspection. When you pair those habits with stable environmental control and consistent film/coating behavior, smearing stops being a recurring fire drill and becomes an occasional, solvable exception.
FAQs
Why is my DTF print smearing after printing only on heavy-color designs?
Heavy-color designs typically carry higher total ink load and often a denser white underbase, which makes the ink take longer to stabilize on the film. If the coating can’t absorb and hold that volume fast enough, the surface stays “moveable” and smears when the film advances, gets powdered, or brushes any contact point. A controlled reduction in ink limit and white density is the quickest way to confirm this.
Why is my DTF print smearing after printing during curing but not before curing?
When smearing appears during curing, the print may be contacting rollers, belts, or guide surfaces, or the film may be deforming slightly from heat and creating unexpected touch points. Residue on the transport path can also pick up ink and redeposit it in repeating patterns. In that case, cleaning the pathway and checking film tension and curl often solves more than changing ink settings.
How do I know if the PET film coating is causing DTF ink smudging?
The simplest method is a swap test. Print the same file with the same settings on a known-good film roll and the suspect roll under similar conditions. If smearing follows the roll, the coating behavior or surface condition is a key variable. Coating-related smudging often shows up as pooling, diffusion, or a persistent tacky surface even when drying time is extended.
Why is my DTF print smearing after printing worse on humid days?
Humidity can slow drying and keep the ink tacky longer, and it can also affect how the film surface behaves. On top of that, environmental changes often bring more dust into the workflow, which creates drag points that smear ink. If smearing correlates strongly with weather or HVAC cycles, treating humidity control and film storage discipline as part of the process is usually more effective than repeatedly changing print settings.
What’s the fastest way to fix DTF ink smearing on film without changing my whole workflow?
Start with the smallest, highest-impact adjustments: pause handling so the ink has time to stabilize, reduce total ink limit and white ink density slightly, and inspect the transport path for residue or contact. If those steps improve the result immediately, you can fine-tune back toward your target density instead of running full redesigns of the workflow.