Concrete might seem totally dry. However, it can still hold plenty of moisture. This hidden dampness can ruin an epoxy floor coating. Moisture vapor might keep moving through the slab after you apply the finish. When this happens, the surface could form bubbles. It might also lose its grip, peel off, or fail early in other ways. Because of this, testing the concrete is a vital step. You must do this before applying epoxy floor paint. It is a key part of planning for garages, basements, warehouses, factories, and parking areas.
Why Should Concrete Be Tested Before Epoxy Application?
Epoxy forms a solid, tight seal over the concrete surface. Sometimes, dampness stays trapped inside the slab. It can also seep in from underneath. This creates vapor pressure. That pressure can easily break the strong bond between the concrete and the top layer.
A simple moisture test gives you vital facts. You get this data before you spend money on materials, labor, and production time.
What Problems Can Excess Moisture Cause?
Too much dampness in the slab causes serious issues. It leads to the peeling and breakdown of coatings and other floor systems. ASTM points out a key fact about these checks. The moisture results only show the slab condition at specific test spots. They also only reflect the exact time of the test. They do not promise that the floor will stay dry forever.
You might notice several common warning signs after applying the finish. These include bubbles, blisters, peeling spots, dark marks, or a weak grip. These bad signs might not show up right away. A newly finished floor can look fine at first. Then, it might start to break down as water keeps rising to the top.
Testing remains highly crucial for several risky spots. These include below-grade basements and ground-level slabs. You should also check fresh concrete and floors lacking a proper vapor barrier. Finally, always test spaces that have faced water leaks in the past.
What Should You Check Before Using a Moisture Test?
You should start the process by looking closely at the whole floor. This visual check does not replace a proper test. Still, it helps you spot specific areas. Those spots might need extra care later.
Your careful review must look at the bare concrete surface. It should also consider the general state of the building around it.
Which Warning Signs Should You Look For?
Keep an eye out for dark patches or clear dampness. You might also see white mineral crusts or smell a musty odor. Old peeling paint and rust near bolted machines are bad signs too. Watch for steady water near walls and floor joints. You must pay special attention to cracks, drains, doorways, thick columns, and low spots.
Find out if the site has faced past floods or broken pipes. Ask about high groundwater or bad roof drains. A basic moisture test cannot fix a live water leak. You need to trace and solve any active leak first. Fix bad drainage before you pick out the epoxy system.
The building must also run at its normal daily climate during the check. Big shifts in airflow, cooling, heating, or room dampness matter a lot. They can deeply change the actual state of the slab.
Can a Plastic Sheet Test Be Used as an Initial Check?
A plastic sheet test is a very basic method. It helps you look for signs of rising capillary moisture near the top of the concrete. This trick works well as a fast, early check for small jobs.
However, it has limits. You must not treat it as a full, deep measure of dampness across the whole slab.
How Is the Plastic Sheet Method Used?
First, you find a clean spot of bare concrete. Next, you cover it with a tightly taped plastic sheet. You wait for the needed test time to pass. Then, you check the covered spot. You look for sweat or dark damp marks under the plastic.
ASTM D4263 explains this plastic sheet method clearly. It acts as a quick tool to show rising capillary moisture. You do this before applying coatings to concrete. It is just a basic warning test. It does not give a hard number for deep slab humidity.
Seeing wetness means the floor needs a much closer look. On the other hand, a dry plastic square does not clear the floor completely. It does not prove the whole slab is ready for epoxy. Big commercial and heavy industrial projects need better data. They should use a proven, exact testing method. They must also follow the strict rules set by the coating maker.
Which Professional Moisture Tests Are Commonly Used?
Professional flooring projects usually rely on two main methods. They use in-situ relative humidity testing or calcium chloride testing. These two methods check different parts of the concrete’s dampness.
The test you pick must fit the exact project rules. It also needs to meet the strict technical demands of the epoxy supplier.
How Does In-Situ Relative Humidity Testing Work?
In-situ testing relies on small digital probes. You place these sensors into holes drilled deep into the concrete slab. The probes read the actual relative humidity inside the concrete. They do not just check the top layer.
ASTM F2170 guides this exact process. It details the precise measurement of relative humidity in concrete using in-situ probes. This method is highly useful today. Many flooring and coating makers demand this deep moisture data. They want it before you start the installation.
You must put the test probes in fair, average spots. Do not just pick the driest-looking corner of the room. Certain zones might need extra test holes. These include spaces near outside walls or spots with past coating failures. You should also check near buried pipes and any likely water sources.
What Does a Calcium Chloride Test Measure?
A calcium chloride test tracks the speed of escaping water vapor. It measures the gas coming off the surface of bare concrete. The final score shows the weight of moisture released. It measures this over a set space and a specific time.
ASTM F1869 explains the rules for this test on bare concrete floors. The official standard shares a clear warning. The score only shows the exact state at the testing moment. It might not predict future dampness levels. You must never run this test over an old finish. Do not use it on patching mud or leveling cement either.
Relative humidity and calcium chloride tests look at totally different factors. Because of this fact, your project plan might ask for just one method. Sometimes, it might demand a mix of both tests.
How Should Moisture Test Results Be Evaluated?
You should never judge a test score on its own. You must always link it to the planned coating system. Different primers and epoxy blends handle water differently. Base floors and site climates also change the safe limits.
You have to compare your final score with the official product sheets. Use the newest technical data given for the whole flooring system.
Is There One Acceptable Moisture Limit for Every Epoxy?
There is no single universal limit for every epoxy floor paint. Work crews need to write down the exact test method used. They must log the date, room spot, heat level, and air dampness. They also need to note the slab state and the final numbers. Next, they should hand these full records to the coating supplier. A project engineer can also review them.
Sometimes, the score beats the allowed maximum limit. When this happens, you have a few safe choices. You might let the floor dry for a few more weeks. You could fix the hidden water leak. You might also put down a proven moisture-blocking primer. Finally, you could just pick a totally different floor finish.
Spreading standard epoxy over a failing slab is a very bad idea. It is never a safe shortcut. You must find the true cause of the dampness first. Then, you should check if your planned fix makes sense. Do all this before the real work starts.
Why Choose Foshan Konaz Technology Co., Ltd.?
A good, trusted epoxy floor paint supplier must offer very clear product details. They should help buyers pair the right finish with the actual floor state. They must consider the daily foot traffic and the planned rolling loads. They also need to review the painting method and the final room climate.
Konaz delivers strong coating products. They build these items for tough industrial and commercial flooring projects.
How Can Konaz Support Epoxy Flooring Projects?
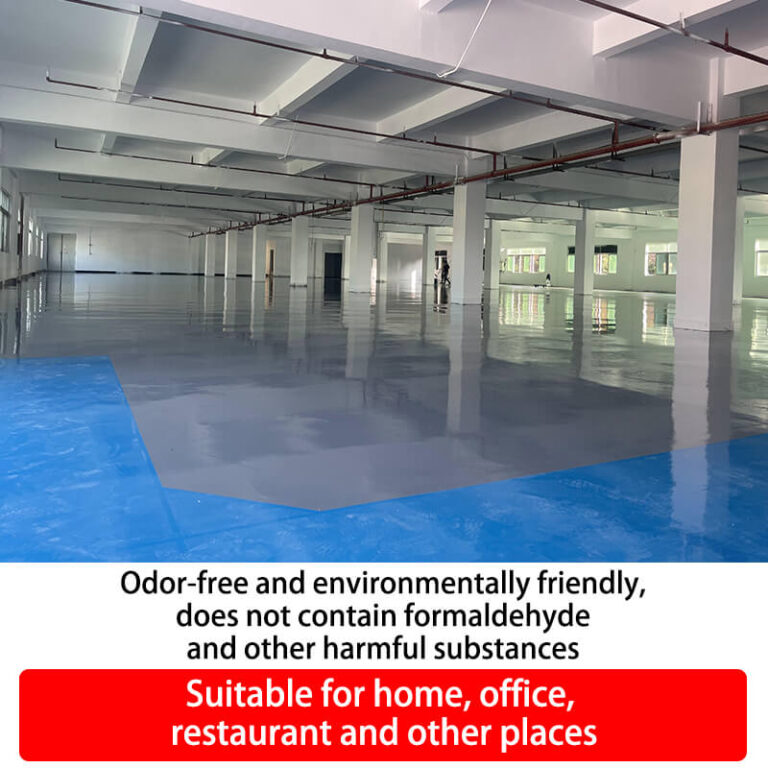
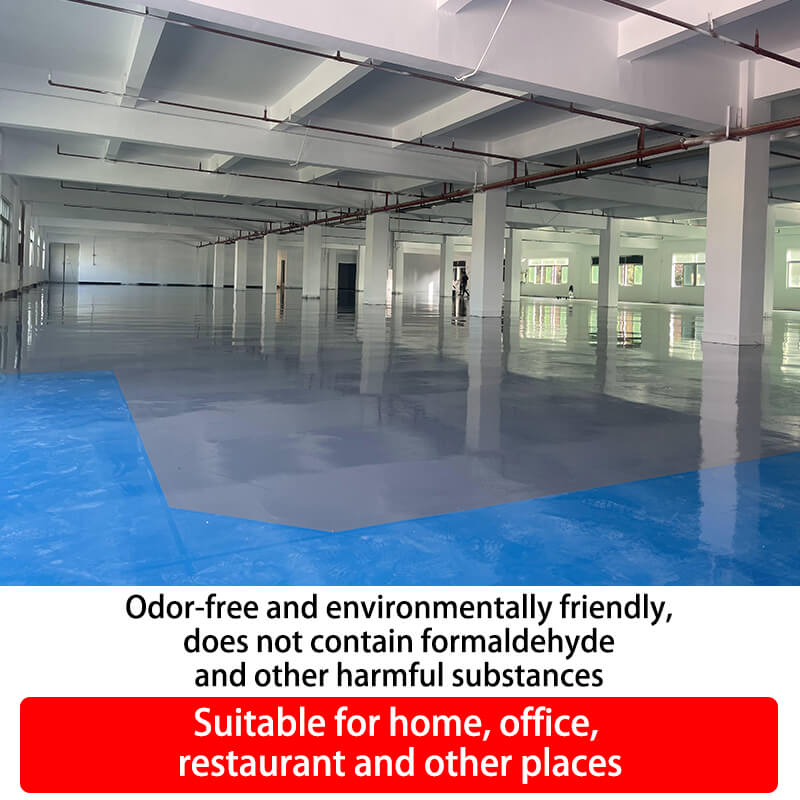
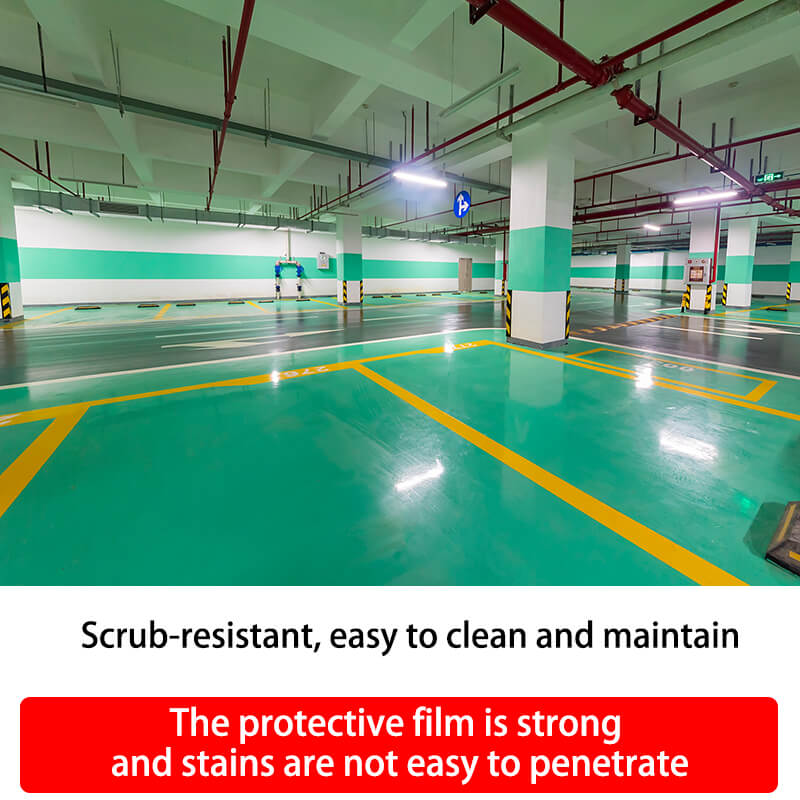
KONAZ Epoxy Floor Paint acts as a heavy-duty, two-part finish. The makers built it for top hardness and great wear resistance. It also fights off harsh chemical spills. The product works perfectly for busy factories and large warehouses. It fits open parking lots, deep basements, and other tough commercial spaces.
The official product guide shows several nice color choices. You can pick green, grey, blue, or fully custom shades. Workers can put it down using a simple roller, a power spray gun, or a flat trowel. The data sheet claims a standard coverage rate. It covers about 4–6 square meters per kilogram when using a standard two-coat system. The factory packs this material in handy 20-kilogram sets.
Foshan Konaz Technology Co., Ltd. offers strong backup for many groups. They help global distributors and busy flooring contractors. They also guide building owners and smart project buyers. These clients all need reliable epoxy floor paint for various industrial uses. Buyers should prepare some key facts before asking for a product match. They need to share the total floor size and the bare concrete condition. They must hand over the final moisture-test results. They should also list the daily traffic type and any harsh chemical risks. Finally, they need to state the wanted color and the planned work schedule.
Conclusion
Concrete moisture testing must happen very early. You should do it before grinding the surface, rolling the primer, or applying epoxy floor paint. Start the job with a careful visual check. Look closely for any hidden water leaks. A basic plastic sheet can give you a fast, early clue. However, big commercial and heavy industrial projects need strict data. They usually demand a proven, exact test. This means using in-situ relative humidity or calcium chloride testing.
Your final choice must rely on written test scores. It must also respect the strict moisture limits of the chosen epoxy system. Checking the floor before painting stops many ugly coating failures. It cuts down on sudden factory closures and huge repair bills. It also stops angry fights between building owners, work crews, and material suppliers.
FAQs
Can Epoxy Floor Paint Be Applied If the Concrete Looks Dry?
Not always. The top layer might seem perfectly dry. Meanwhile, hidden dampness can stay trapped deep inside the thick slab. A simple visual check is never enough. You must back it up with a proper moisture test. Do this right before any epoxy application.
Does a Dry Plastic Sheet Result Mean the Floor Is Ready?
No, it does not. A basic plastic sheet test can show clear surface wetness. However, it fails to give a full, deep reading of the internal slab state. Bigger or riskier jobs need much better data. They must use the strict test method demanded by the coating supplier. They can also follow the official project rules.
What Should I Send to an Epoxy Floor Paint Supplier?
You should send the exact test method and the final scores. Include the total floor space, the slab age, and the bare concrete condition. Point out the exact spot of every single test. Share the old coating history and the daily traffic needs. List any expected chemical spills and the planned work dates. These clear facts help the supplier a lot. They use the data to check if the chosen epoxy system fits the job perfectly.